
The sweltering heat and humidity of Korean summer once again has me reaching for a home-made frozen treat (not that I need much incentive). I got my ice cream maker a few years ago, when a co-worker moved, and I had the good fortune to inherit his never-used Cuisinart. Since then I’ve looked forward to making a sorbet or ice cream every summer, and my trusty machine has never let me down.
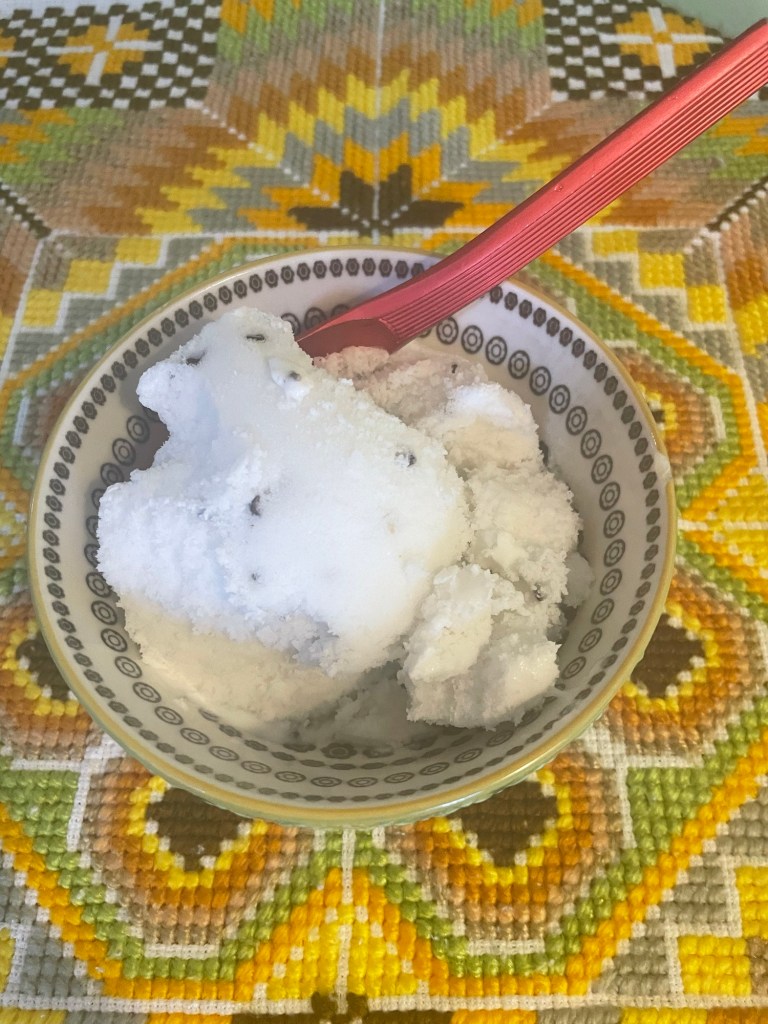
In the past, I’ve made peach and vanilla ice creams, and sorbets – lemon-mint and grapefruit-basil are two of my favorites. This year, it’s a coconut milk ice studded with cacao nibs. It’s vegan friendly, uses only about six ingredients, and can be customized (see below for some variations).


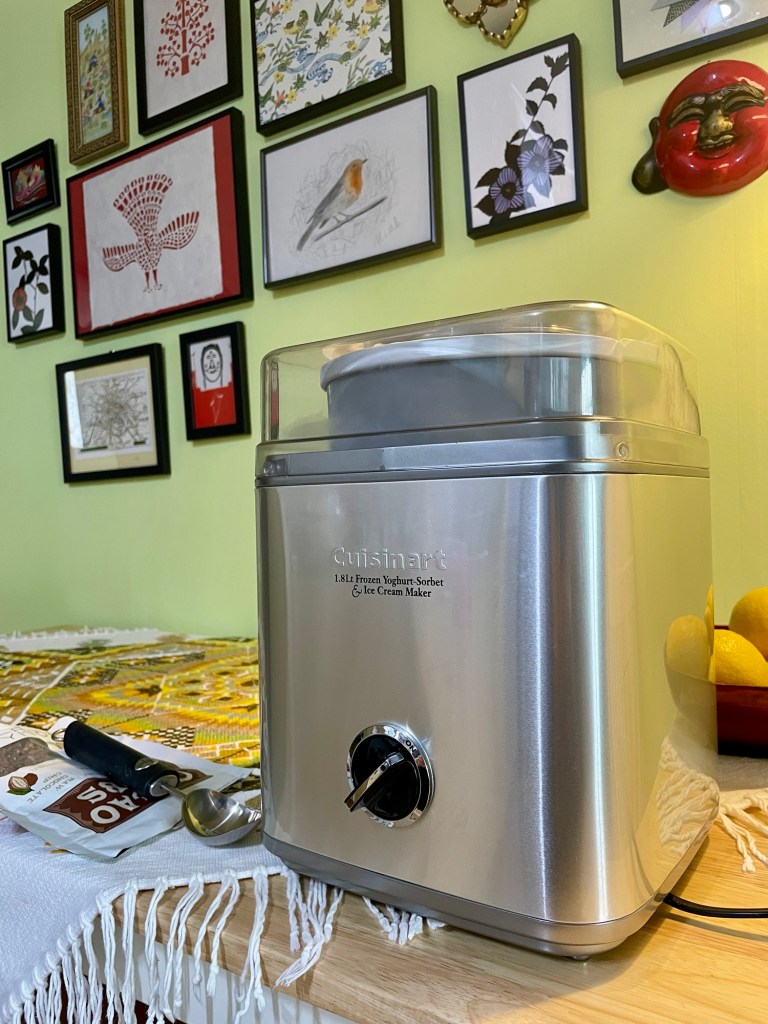
I do recommend using an ice cream maker for this one, as the churning process keeps the result creamy and light. The churning action also evenly distributes those yummy, bittersweet cacao nibs, or any other inclusion you may wish.
In addition to the ice cream maker, you’ll need a small saucepan, a whisk, measuring spoons, a small mixing bowl, and a pint-sized, airtight vessel for the finished product. Start by freezing the bowl of the ice cream maker overnight, so it is frozen solid before adding the base.
Ingredients
2 (15oz) cans coconut milk, divided (not coconut cream)
1/2 cup granulated sugar (coconut sugar can be substituted, but it will alter the color, flavor, and level of sweetness)
1 1/2 Tablespoons cornstarch
1/4 teaspoon salt
1 teaspoon vanilla extract
1 teaspoon coconut extract
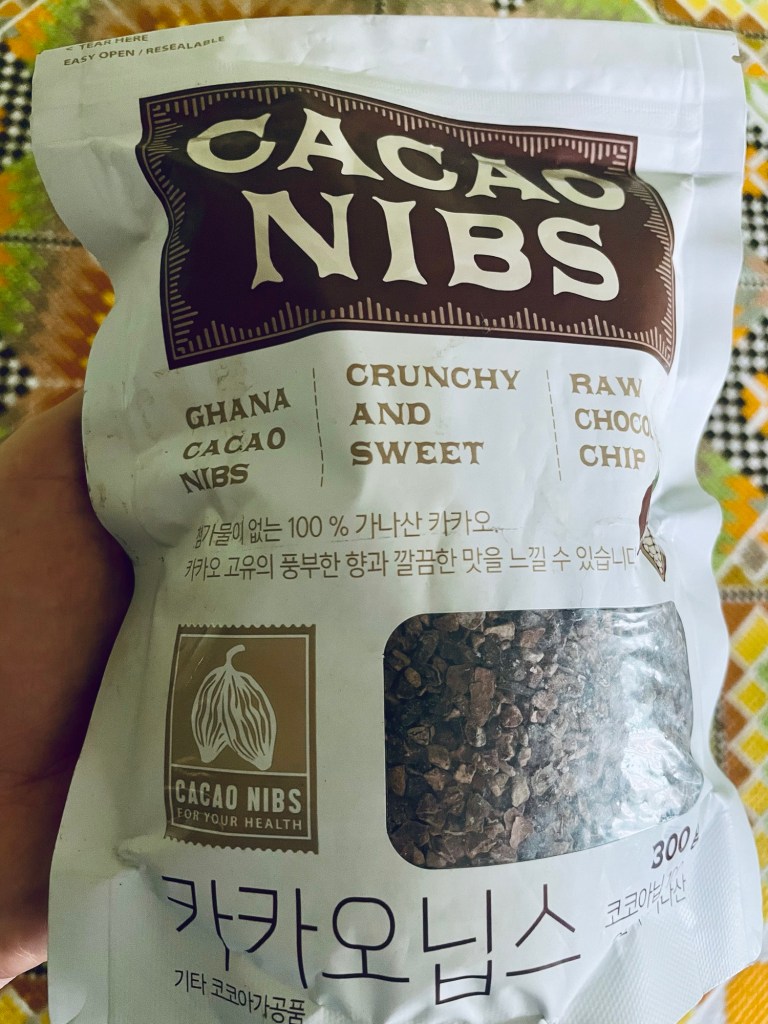
1 – 2 Tablespoons cacao nibs, or more to taste (optional)
Instructions
- Measure out 1/2 cup coconut milk and place in a small mixing bowl.
- Meanwhile, in a small saucepan, add remaining coconut milk, sugar, and salt. Cook over medium heat until sugar is dissolved. Add coconut and vanilla extracts.
- To the reserved coconut milk, add the cornstarch and mix until dissolved. Add this mixture to the saucepan contents, and bring it to a boil, stirring constantly.
- Boil gently for about 5 minutes, stirring frequently, until ice cream base has thickened somewhat. Transfer base to a small container and chill in the refrigerator (do not freeze) for about four hours, or until ice cold.
- Once the base has chilled, add it to the frozen ice cream bowl and churn according to machine instructions. When the base attains a soft-serve consistency, gradually add the cacao nibs, allowing each addition to churn evenly into the mix.
- Transfer the churned mixture to a covered vessel and keep it frozen until ready to serve.
Variations
- Omit cacao nibs and instead add an equal amount of sliced almonds, finely chopped peanuts, or toasted coconut.
- Instead of the extracts, replace them with 1/3 to 1/2 cup fresh lime juice mixed in to the chilled ice cream base just before adding to the machine, and churn as usual.
When I’m ready to eat, I grab a colorful bowl and my bright red aluminum ice cream spoon procured last year in Tokyo (cost was about ten bucks). Aluminum conducts heat well, so it makes the best material to scoop your hardened ice treat.


Crafty projects are humming along. I started an amigurumi sun ornament, which will have gradient yellow rays and be a lovely, bright addition to my patio.
I popped over to Seomun Market last week and picked up a few sewing materials and cotton fabric that I plan to use for bag linings. Now that I’ve finished and connected all the African Flower hexagons, what remains is to line and sew it all together, and decide what kind of handle would work. I am undecided between a clear lucite one, or a yarn strap I make myself. I’ll be back soon to share this momentous decision! 🙂 xo
Discover more from The Frill Seeker
Subscribe to get the latest posts sent to your email.
